I just wanted to let you all know that I am working on moving this blog to a new URL address, so all new posts will now be at:
Dippity Dot Inspirations
I hope that you will continue to follow my blog at the new address! :)
Jul 11, 2011
Jul 5, 2011
Trash to Treasures Class - July 25th
Here is the information for this month's class. Just let me know if you would like to attend!


Jun 9, 2011
Humorous Cards
I needed an idea for a humorous b-day card and came across the funny saying "Did you just hoot?". I just recently purchased the Whimsical Bird stamp set and it has some adorable owl stamps that I was eager to use on a card! I decided to make a T-Slide card, so when you pull on the tab on the right it opens up to reveal the saying underneath, which I put "Hoot all you want, it's your birthday". I think it turned out sooooo cute. :) If you would like to make a T-Slide card, here is a link that will take you to a tutorial: T-Slide Card. If you make one, be sure to leave a comment below with a link or picture. I would love to see it!


I also needed a humorous masculine birthday card, clean ones are hard to come by these days, so this is what I came up with. It is a simple computer generated and paper pieced card, but I think it is perfect for the person we are giving it to.


I also needed a humorous masculine birthday card, clean ones are hard to come by these days, so this is what I came up with. It is a simple computer generated and paper pieced card, but I think it is perfect for the person we are giving it to.

Jun 6, 2011
Altered Distress Frame
On top of making projects magnetic, I love to alter & beautify plain & drab items! Here is an inexpensive photo frame I picked up and altered. I used the Tim Holtz Distress Crackle Paint and distress ink on the frame. This was the fist time to use the Crackle Paint and I love the distress look! The paper is from The Angel Company and the verse used is computer generated. I used my Cricut to cut out the chipboard bird, birdcage, and swirls. The two windows on the right side of the frame are of course, magnetic, making it easy to add & change pictures if desired. The bird and button in those windows I made into magnets, so they can be used or removed easily as well. I had a lot of fun with this project, so I am sure I will be making more. If you would like to purchase this frame or would like me to customize one for you be sure to drop me an e-mail at: judesigns@hotmail.com. You can also visit my Zibbet store at: Dippity Dot Creations to see what other items I have for sale.


Jun 3, 2011
Cards, cards, and more cards!
June is a very busy month for my family with lots of birthdays, anniversaries, and Father's Day. I have been working on designing and making several different cards so I thought I would share some of them with you. If you are looking for a fun, unique, or personalized card just e-mail me at: judesigns@hotmail.com. I would love to design one to fit your needs. My cards range from $2-$4, depending on the number of layers and embellishments used.
Father's Day cards:

On these Father's Day cards I used a variety of different techniques. The sentiments are computer generated, I distressed and inked the edges, used my Cricut machine to cut out the "dad" letters, used my scoring board to create the dry embossed lines, felt was used to create the mustache, and for the compass embellishment I used used copper Stickles and Glossy Accent over a compass design I stamped on cardstock.

Kid's B-day cards:

These are pop-up cards. The photo below shows what it looks like when it is closed. They fit right inside of a card envelope, so they can be easily mailed. These cards are a lot of fun to make. On the cupcake cards I used the adorable "Cupcakes" stamp set from Maya Road and paper pieced them using some cute paper from the Paper Studio "Poteeka Souffle" pack. The number "6" and names were cut out using my Cricut.

I saw this cute idea and I just had to make it for my nephew, since his b-day theme was trains. I found a photo of Thomas on the internet and printed off his face. The rest of the card is paper pieced together and I cut out the circles and the number "2" using my Cricut.


Fun buckle cards:

These cards close with a fun paper buckle with a sentiment stamped on them.


Easel Card:

Here is another fun card to make, the Easel Card. This also lays flat so it can easily be put into an envelope and mailed. The stamp set used is from The Angel Company.
Jun 2, 2011
Fun with Flowers Class - June 13th
This month's class is all about flowers. I will be showing you how to create and make different types of flowers out of paper and fabric to use on all different types of projects. The cost is only $15 and all supplies will be provided. Below is an invitation with more details as well as some photos of some of the flowers we will be creating. Hope you can join us!
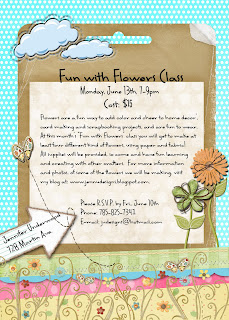
Here are some photos of flowers that we will be creating:


Here are some photos of flowers that we will be creating:


May 25, 2011
Whimsical Bird Chipboard Plaque
Here is a cute little plaque I designed for this months "Monthly Bible Verse Challenge" I participate in. The backing is chipboard and the papers are from a the fun paper pack Poteeka Souffle from the Paper Studio. The adorable birds are from the "Whimsical Birds" stamp set from TPC Studio. The verse card is clipped onto the plaque making it easy to change out verses or to add photos. Looking for a fun unique plaque to hang by your desk or to give as a gift? Just let me know and I can create one just for you. My 4.5" x 4.5" plaques start at $6.


Apr 26, 2011
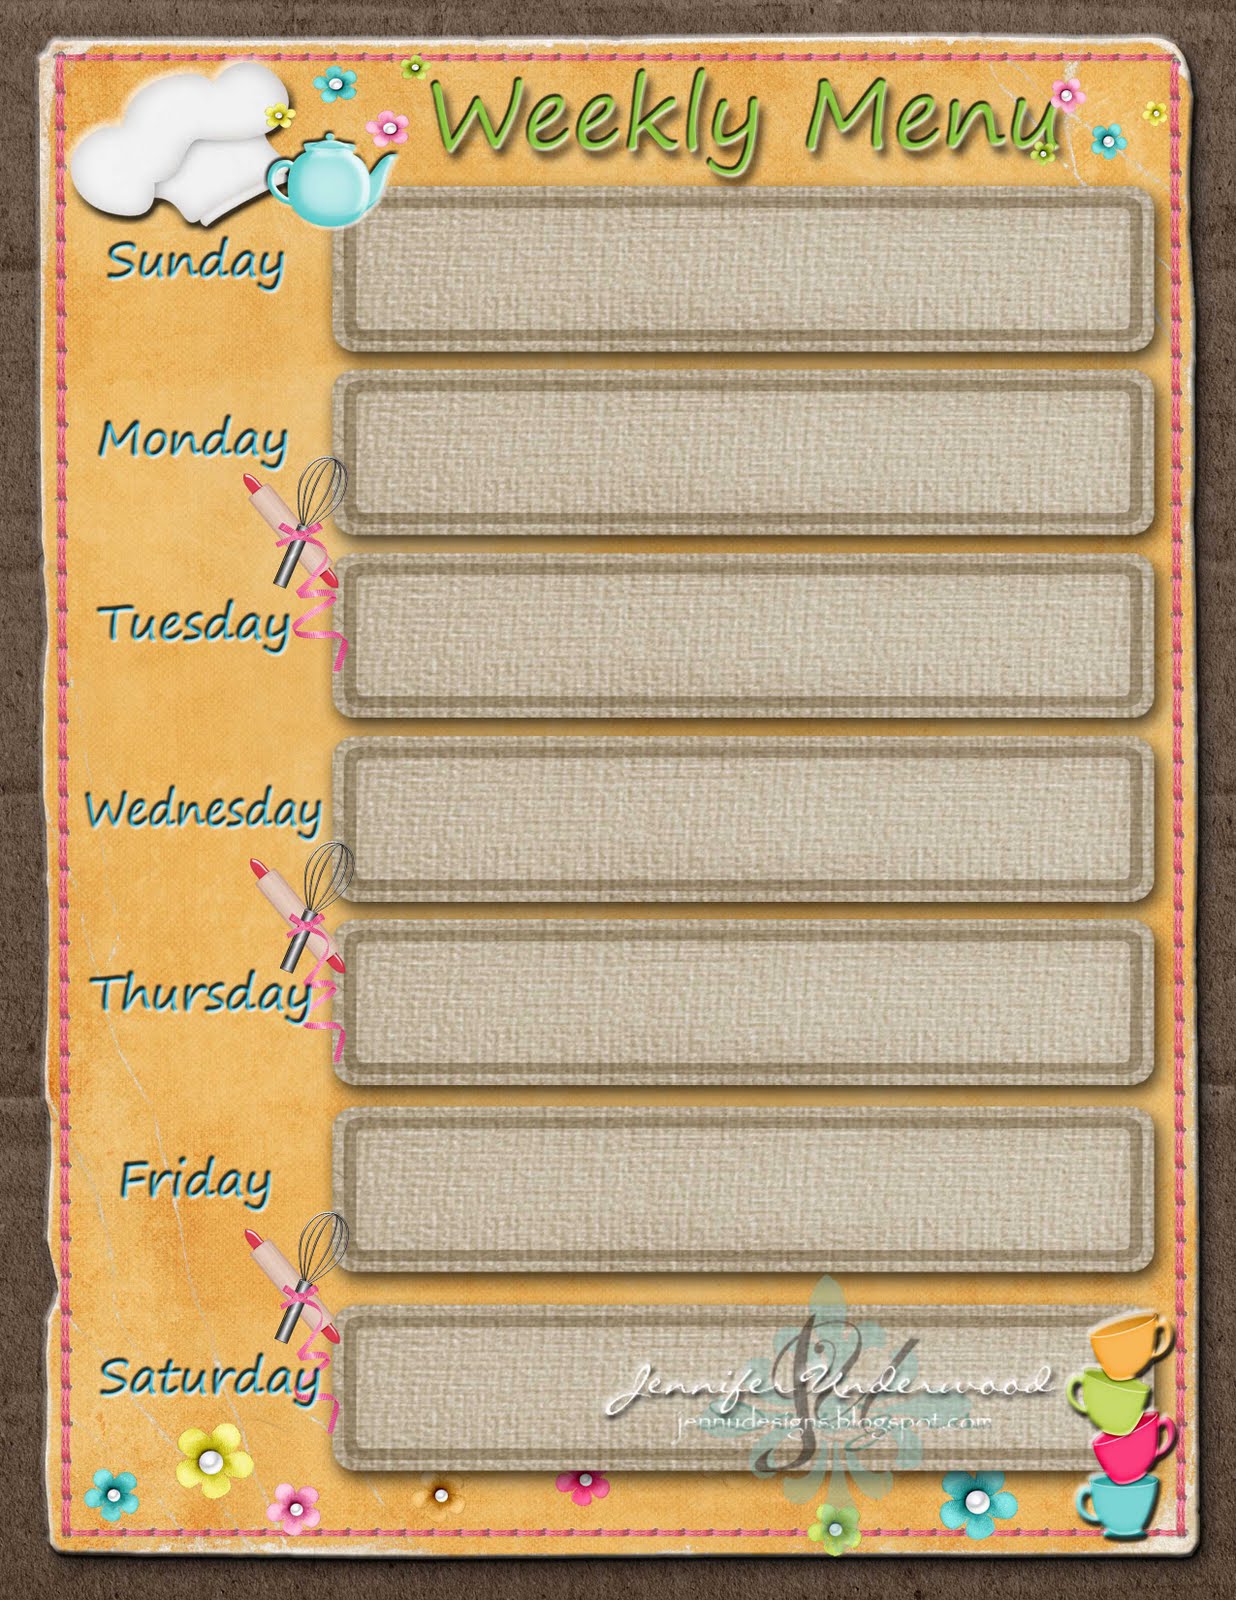
Menu Magnets
As you may already know, I love making things magnetic and being able to use dry erase markers. My sister-in-law gave me the idea of putting a blank menu design on a magnet, making it easily accessible on the fridge and being able to use a dry erase marker! What a fun and practical way to display the weekly menu! Here are a couple of designs that I have created. They are 8.5" x 11" and start at $15. E-mail me at: judesigns@hotmail.com if you would like to place an order (The watermark will not show up on the actual magnet).


Apr 22, 2011
Mother's Day is right around the corner
I recently created this magnetic frame for a friend of mine who is having a baby soon. Magnetic frames are a fun and easy way to display photos, sayings, or notes. On this frame I added "bling" to the paper using Stickles, added the "Our Blessing" saying with white vinyl, used glass pebbles for the magnets and made cloth flowers to add as accents.

Mother's Day is right around the corner, and a Magnetic Picture Frame would make a great gift. E-mail me at: judesigns@hotmail.com if you could like to place an order. My Magnetic Frames start at $25.
Below are a couple of photos of other frames I have made. More photos can be found here at: My Magnetic Frame Gallery


Apr 15, 2011
Card Organizer
I try to have several cards made for different occasions and wanted something fun to store them in, so I created this card organizer. The box is a recycled hot cocoa box that I covered in kraft paper and then decorated with other colorful paper, ribbon, and wood buttons. I chose 1 Thess. 5:11 as the verse for the front as a reminder to me of why it is important to continue making and sending cards. Encouragement is such a necessity of life and it is as important to give as it is to receive. Sending uplifting cards to those in your life can be just the encouragement they needed for the day!


Mar 23, 2011
Chipboard Albums/Journals
Here are a couple of Chipboard Albums/Journals that I designed and made lately. I again had fun using colorful flowers on these projects! The price for albums like this start at $15. If you would like me to make one for you send an e-mail to: judesigns@hotmail.com. These would make great Mother's Day gifts. :)
This first album is a 6" x 6" journal and album.

I designed journaling pages and placed them in the front half of the album and then added photo pages to the back half. I also added a pocket inside the back cover to hold keepsakes.

This next one is an 8" x 8" album I created to store the 2011 monthly scrapbook pages I am doing this year.


Paper Flowers
Spring is here and I have been celebrating by making different kinds of paper flowers. Flowers are so much fun to use on any project. Here are a couple of projects I used them on.
This first picture shows ones I used as tags for my baskets that hold my stamps that are stored in CD cases.

This second picture is of a bookmark that I made.

This first picture shows ones I used as tags for my baskets that hold my stamps that are stored in CD cases.

This second picture is of a bookmark that I made.

Mar 21, 2011
Digi Thank Yous
Here are some Birthday Thank Yous I made for my kiddos recently. Making these digitally is a fun way to personalize and make one of a kind thank yous.


Mar 12, 2011

Feb 27, 2011
Owl B-day Cake
This week is my "little" girl's 15th b-day. She really likes owls so I had her help me make her an owl cake. It turned out really cute, so I wanted to share it with you. It was a lot of fun making!


Feb 22, 2011
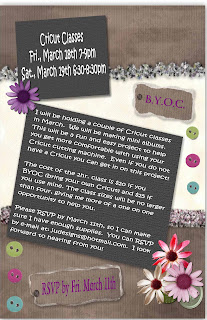
Upcoming Cricut Classes
Here is some information on my upcoming Cricut Classes. Please let me know if you have any questions or would like to attend one of these classes.

Feb 19, 2011
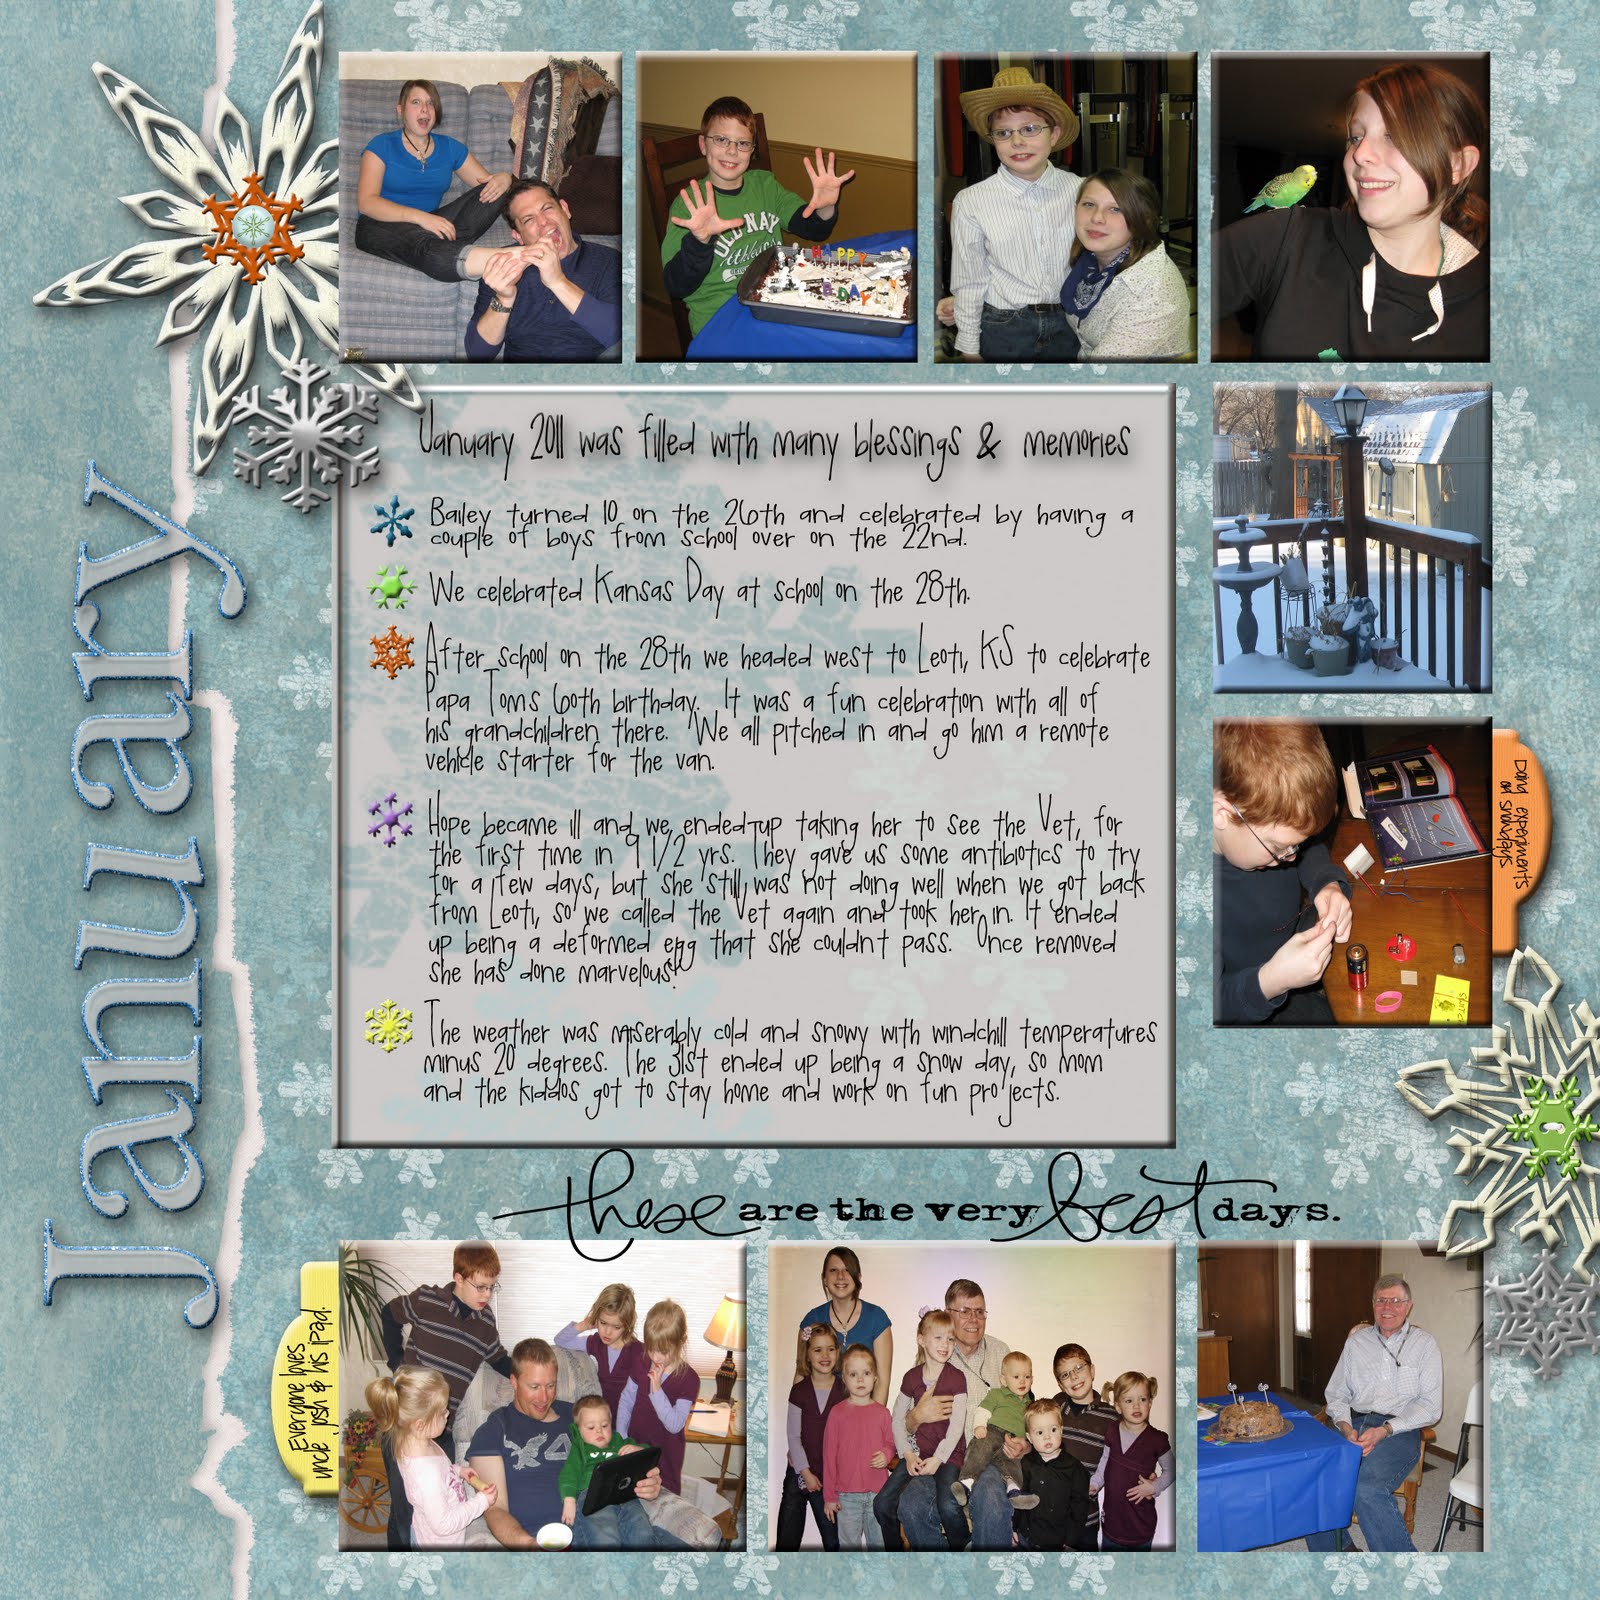
January's Memory Page
Like I mentioned in an earlier post I have decided to scrap a montly page this year in order to cherish events and memories on a monthly basis. Here is my January page.

I soon will have quick pages available for sale for $1.25, making it easy for you to cherish your memories easily. If you are interested please be sure to e-mail me at: judesigns@hotmail.com.
I soon will have quick pages available for sale for $1.25, making it easy for you to cherish your memories easily. If you are interested please be sure to e-mail me at: judesigns@hotmail.com.
Feb 14, 2011
Valentine Projects
Here are a few gifts I worked on and gave as Valentine gifts this year. This first one I had my kiddos help with to give to their "World Class Dad".

We painted the piece of wood black, let it dry and then rubbed some wax from a candle stick over it in different areas and painted it red. Once the red paint was dried we used a scouring pad to rub off the wax which let the black show through. We all went through magazines looking for words that best described or reminded us of the wonderful man in our lives, I call "Hubby" and they call "Dad". Once we had enough to fill a heart shape we used Mod Podge to glue them on and to seal over them and the whole board. Once that was all dried we added nails in a heart shape and useed a combination of black cord, thread, and wire to complete the heart. We then added twine, so it can be hung. It will also look good on an easel.
This next project I made for my son's teacher. I filled a frappuccino bottle with Rolos and then added the sentiment. I used copper embossing powder for the car and on the blue paper I think it "pops" nicely. :)

These next projects are digital projects that I put together for my son's class Valentine Party. I included a couple of ideas for the coupons and left four others for them to personalize. I made covers with owls for the boys and ones with birds for the girls. They were a big hit and I know that the receiver of these coupons will be very appreciative as well.


Feb 5, 2011
Digi Scrapping
Another thing that I enjoy doing is Digi Scrapping. I started scrapbooking when my daughter was born, almost 15 years ago, and started Digi Scrapping about 3 years ago. For me I love technology and digi scrapping is less messy and since my wonderful husband got me a laptop for Christmas a couple of years ago I am able to do it on the road!
As I mentioned in my last post, January was filled with many events and activities. My youngest turned 10, I helped a lot with an upcoming Benefit Auction, and we celebrated my dad's 60th b-day. For my dad I had fun going through 60 years of pictures and putting a DVD video together for him.
For this year I have decided to scrap/journal monthly events and activities. I will be posting my monthly pages in hopes that whether you do traditional or digi scrapping that you will continue to be inspired to cherish daily memories by scrapping! I am currently working on my January 2011 page and will be posting it soon. Here are a few pages that I completed recently of my kiddos b-days last year (yes, even with digi scrapping I am behind).


Party Favors
Wow, January blew by fast and was so jammed packed with events and preparing for events that I didn't have time to add posts. I was able to do a variety of fun projects and thought I would share them with you.
First off I spent a lot of time last month helping our Christian school prepare for their big upcoming Benefit Auction, which is tonight! In among the many responsibilities that I take on with that, I got to do some fun projects too. :) I love designing with the computer, so I designed flyers, programs, posters, etc. We are also offering a couple of VIP tables this year, so I offered to make and donate table favors. The colors of the Auction are silver, black, white, and burgandy so here are a few pictures of the favors that I made.

I used white cardstock, the Tags, Bags, Boxes and More Cricut cartridge, black and silver embossing powder, stamps, burgandy tulle, and a variety of chocolates. Fun and easy to make!

Subscribe to:
Posts (Atom)