Background

Sep 6, 2010

Handmade Cards

It has been awhile since I sat down to just make cards. Splitcoaststampers had a Virtual Stamp Night recently, so I decided to take the opportunity to make some cards! Here are a few that I made.

Smile it's your day!
There are several b-days this month, so I wanted to come up with a fun and easy card. Here is an easle card that I decided to make. I had fun using a new stamp from "It's your Day" set from The Angel Company.

Thanks card
This card I made for a challenge on Splitcoaststampers. The challenge was to try and use only the colors Amber and Purple. I had fun using the clear heat embossing technique with the "Aged Ornaments" stamp from The Angel Company.

Pumpkin Hello
Here is another card that I made for a challenge on Splitcoaststampers. The challenge was to use water somehow on the card. For the background I used my brayer and rolled it with three different colors, spritzed with water and rolled it on cream colored cardstock. I stamped the pumkins and colored them in by using my color pencils dipped in water.

Friendship lightens every burden
This last card was for a "BRAVE" challenge. B - Use blue, R - Use ribbon, A - Accent, preferably with something shiny, V - Use vellum, & E - Use an embellishment. I had fun using my "A Child's Year" Cricut cartridge and with heat embossing with silver.


Aug 20, 2010

Counter/Desk Organizer

Lately I have been trying to find ways to reuse the many food boxes our family goes through and I came across this Oranizer idea. I used an empty microwave popcorn box.

Covered it with a solid earth tone color paper.

Then I embellished the front with paper from The Angel Company, ribbon and used the Storybook Cricut cartridge to cut the paper design and the flower tabs used on the dividers.

The tabs say: Bills, Mail, Receipts, and Other. I love to have a place for everything and everything in its place, so I think this will come in handy on a kitchen counter or desk to help keep things organized. :)

Aug 8, 2010

Altered Mini 4 Subject Notebooks

I came across these neat sized Mini 4 Subject Notebooks yesterday and thought that they would be very fun to alter!

I chose the paper I wanted to use, cut it to size, and used my adhesive tape gun to apply it to the plastic cover.

To finish it off, I used my Storybook Cricut cartridge for the Top Note design, then I embossed the "enjoy" and the bird which is a stamp from The Angel Company Unexpected Joys stamp set, using white embossing powder. Another fun and simple altering idea!

Here is one I made up that can be used as a fun Christmas Planner/Organizer. I used my Cricut to cut the snowflakes and the word "joy" out of vinyl. I used the Gypsy Wanderings and A Child's Year cartridge for the snowflakes and the Sesame Street Font cartridge for the word "joy".

Jul 25, 2010

Magnetic Note Frames

I just discovered that you can use dry erase markers on glass and it wipes off! I know, I don't know where I have been, but with that discovery came the inspiration for the following Magnetic Note Frames.

This first one I used Cricut cartridges Disney-Mickey Mouse and Storybook. The flowers are magnets, making it easy to keep notes, receipts, etc. in one spot.

This Magnetic Note Frame I used Cricut cartridge A Child's Year and the tree is from the Childhood Portrait stamp set from Close to my Heart. The flower on this frame is also a magnet.

Jul 21, 2010

More fun gift projects

My children have been visiting grandparents this week, so I have been busy crafting! Here are a few things that I have been working on.

Post-It Note Holder

This project has two of my favorites: (1)Post-It notes (2)Getting to use my Bind-it-all! This Post-It Note Holder is made out of chipboard and is a fun way to keep Sticky Notes on your desk, in your purse, by the phone, etc.

Small Treat Gift
Ok, I really don't know what to call these, but they were fun and simple to make. I used my Cricut to cut the Top Note window out and you can add anything you want inside of the clear bag inside.

Mini Clipboard
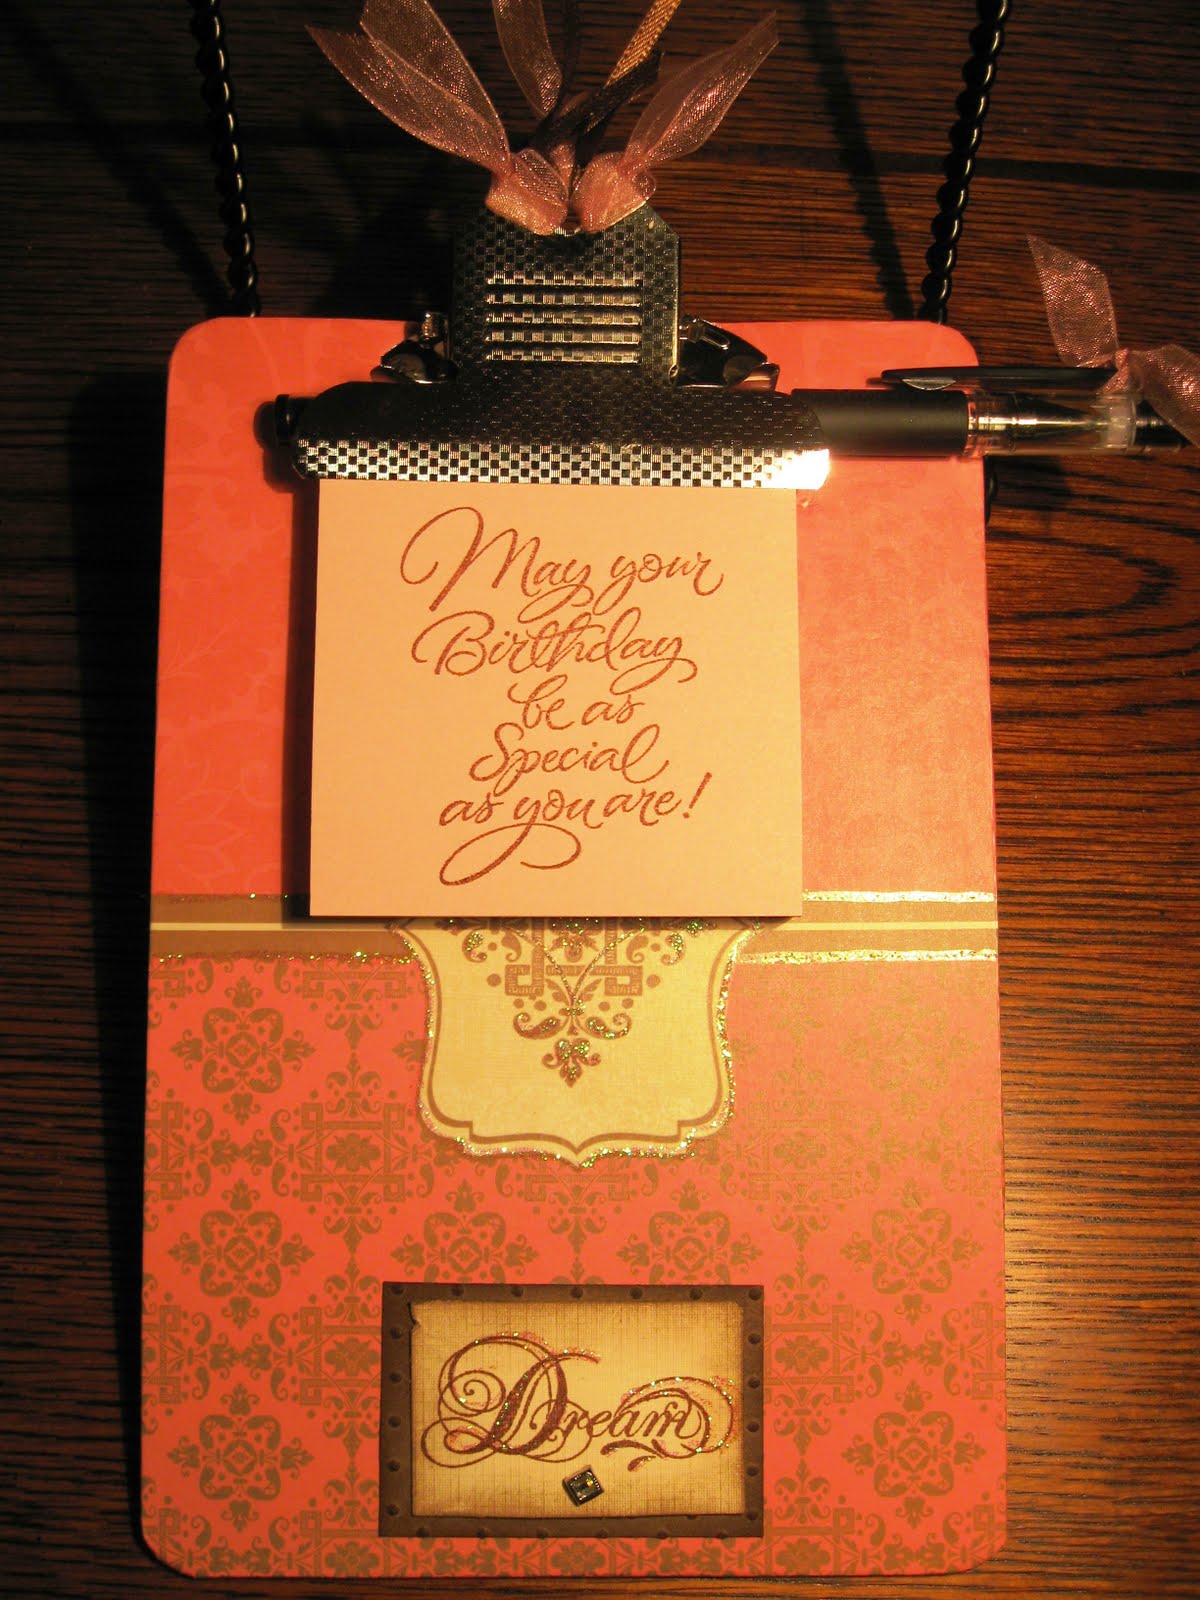
I found these cute mini clipboards and decided that they would be fun to alter. It is hard to see in the picture, but I used Stickles to add some bling. If you click on the photo it will make it bigger and you can see it better. :)