Background

Jul 25, 2010

Magnetic Note Frames

I just discovered that you can use dry erase markers on glass and it wipes off! I know, I don't know where I have been, but with that discovery came the inspiration for the following Magnetic Note Frames.

This first one I used Cricut cartridges Disney-Mickey Mouse and Storybook. The flowers are magnets, making it easy to keep notes, receipts, etc. in one spot.

This Magnetic Note Frame I used Cricut cartridge A Child's Year and the tree is from the Childhood Portrait stamp set from Close to my Heart. The flower on this frame is also a magnet.

Jul 21, 2010

More fun gift projects

My children have been visiting grandparents this week, so I have been busy crafting! Here are a few things that I have been working on.

Post-It Note Holder

This project has two of my favorites: (1)Post-It notes (2)Getting to use my Bind-it-all! This Post-It Note Holder is made out of chipboard and is a fun way to keep Sticky Notes on your desk, in your purse, by the phone, etc.

Small Treat Gift
Ok, I really don't know what to call these, but they were fun and simple to make. I used my Cricut to cut the Top Note window out and you can add anything you want inside of the clear bag inside.

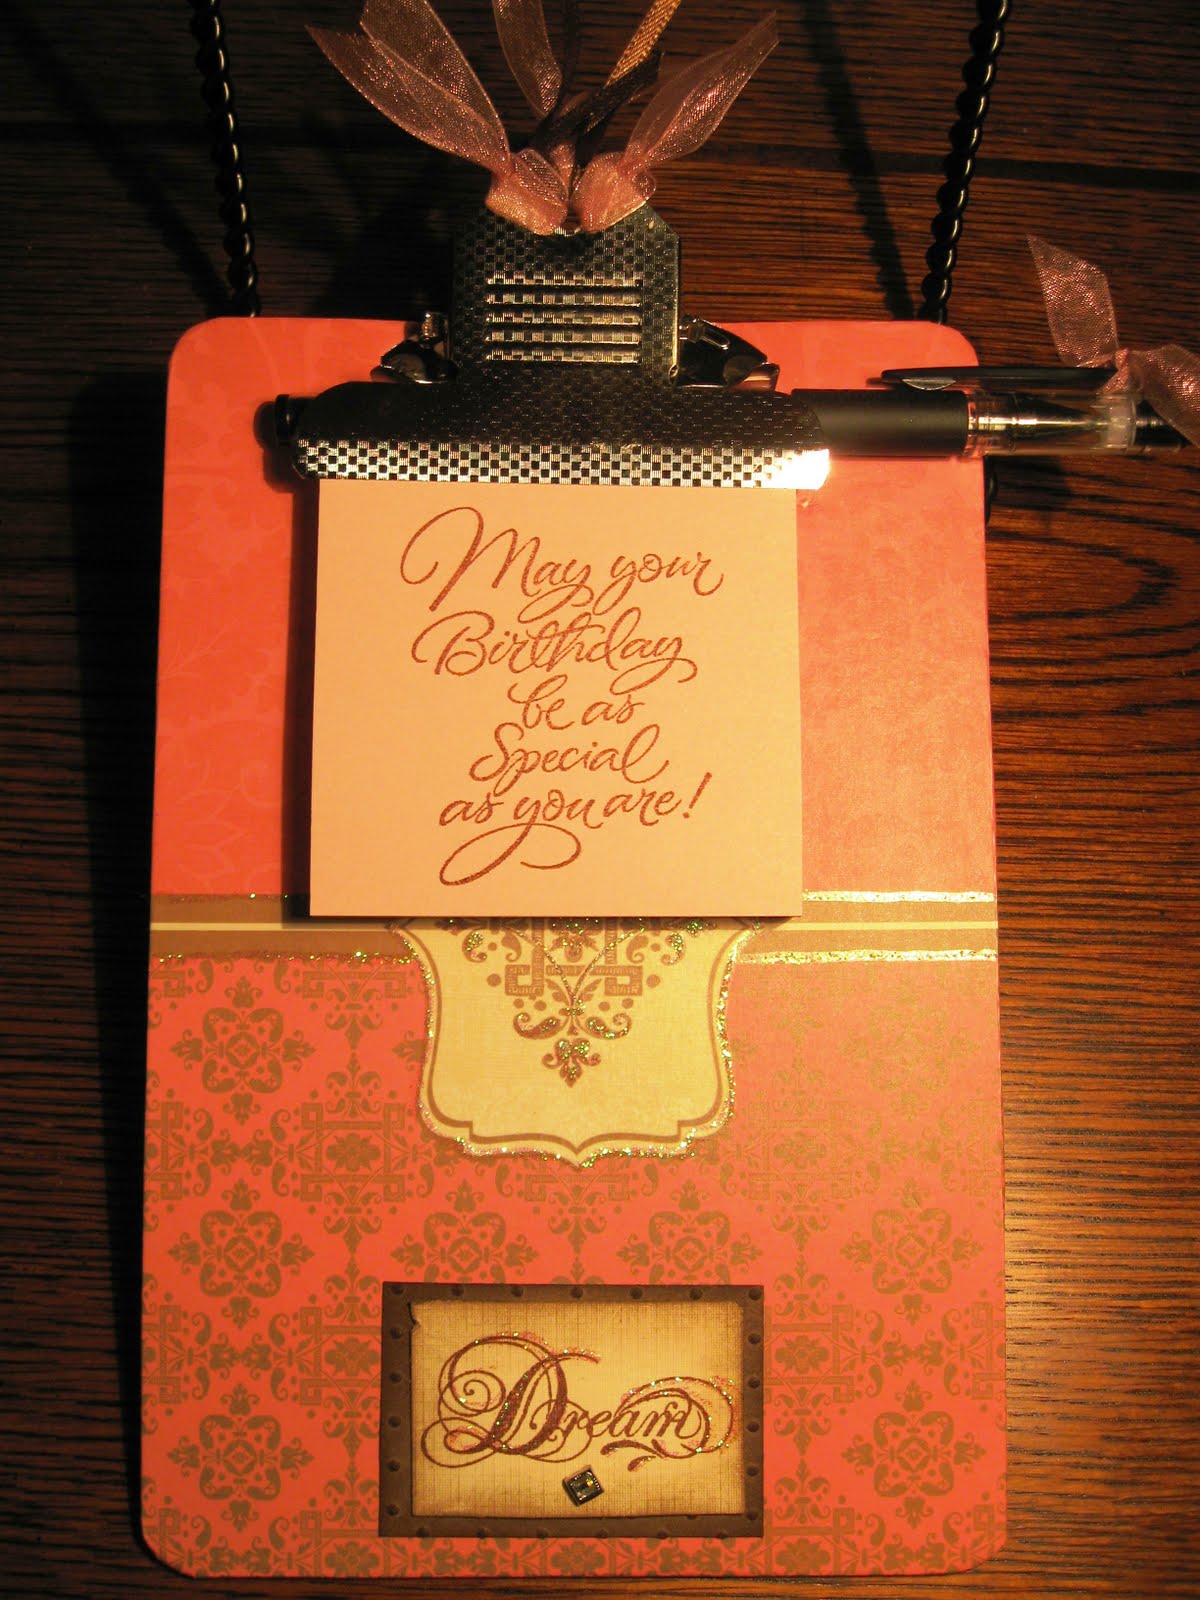
Mini Clipboard
I found these cute mini clipboards and decided that they would be fun to alter. It is hard to see in the picture, but I used Stickles to add some bling. If you click on the photo it will make it bigger and you can see it better. :)

Jul 13, 2010

File Folder Notebook

One project that I have been wanting to make is a File Folder Notebook, I finally remembered to look for some cute file folders and found some at Michaels the other day. This project came together pretty quickly and I think turned out cute. :)

Jul 7, 2010

Silk flowers using the Cricut

I just cut fabric with my Cricut!! This is very exciting to me, in case you couldn't tell. I went out and bought 7 different fun silk colors and was anxious to get started making some silk flowers.

These are the three colors I used for this flower.

Once put together I used the handy dandy Crop-a-dile to punch a hole in the middle and then used a brad.

I then used a Bone Folder to hold the flower in place while I used the heat gun to singe each petal of the flower to curl and crinkle it.

Here is a before and after shot. Now it is ready to put on a headband, hair tie, necklace, bracelet....

Tips and Tricks

I have come across some neat tips and tricks that have made my crafting life better, so I thought I would share them with you.

#1 Making your Cricut mat sticky again
I came across this video where someone used repositional glue to make their Cricut mat sticky again, so I had to give it a try. For those of you who do a lot of cutting with your Cricut machine you know how fast the stickyness wears off of the mats and how pricy it is to keep replacing them. I went to a local craft store and purchased a craft glue that is permanent or repositional on sale for around $2. It is repositional if applied to a project and left to dry before applying anything to it. I applied it to my not sticky mat, used a foam paint brush to spread it around really good and let it dry. It worked great!

#2 Embossing with your Cricut blade upside down
Another video that I came across was someone using their Cricut to emboss where they used their blade upside down. I have been looking at embossing machines and trying to decide which one if any I should get. After giving this a try I may not need to. Especially, since I have a Gypsy that I can design what I need and have the Cricut do the embossing for me. I purchased a package of embossing mats from Spellbinders from a local craft store, using the 40% off coupon I got them for around $6. You place the mat on your Cricut's sticky mat and then attach the paper, metal, etc. to the mat with tape, load into your Cricut and emboss away! I am all for using what you have and not spending more money if you don't have to! :)